A Guide To …

… Making Your Own Lip Balm

DSC_0056

When I first moved to New York City, I really suffered from dry lips and was constantly searching for the right lip balm. Daniel, my now-husband, recommended his Blistex lip balm. But strangely when I opened it, the smell reminded me of my work place…. and not in a good way. Then I realized why.

One of the ingredients was phenol. In the laboratory we use phenol for extracting nucleic acids, such as DNA or RNA, from cells. But apparently phenol is also used as an analgesic or even to temporarily treat pharyngitis. To me, this was highly worrying. In the lab we handle phenol only with gloves and with great caution. Especially since it is corrosive to the eyes, the skin, and the respiratory tract and repeated or prolonged skin contact causes dermatitis, or even second and third-degree burns. It also has harmful effects on the central nervous system, liver and kidneys if you come into prolonged contact. Which  using it in a lip balm, you would.

Needless to say, I did not use Blistex. I kept on searching for a lip balm that instead of being corrosive would be nourishing, smooth and creamy, and, most important of all, keeping my lips moisturized even at temperatures of 20 below zero. It was an almost hopeless quest.  Most lip balm are made with petroleum jelly (vaseline), because the theory is that this will lock the moisture in your lips and they will not dry out. Unfortunately the jelly is often not very highly refined and contains harmful impurities. And besides, it often dries your lips even more since it does not allow for moisture to be absorbed from the atmosphere but locks already present one in. What if you started out with dry lips already? They will only get drier.

But there are some good brands out there, albeit they are expensive. Dr. Hauschka and Whole Foods own brand have lip balms with ingredients you feel comfortable to lick off your lips without having to think of the negative consequences. But one day I came across empty lip balm tubes in a local herbalist shop – and that gave me the idea. How difficult can it be to make your own? It actually isn’t. So with a little research I put together my own recipe for a lip balm.

Think About Ingredients

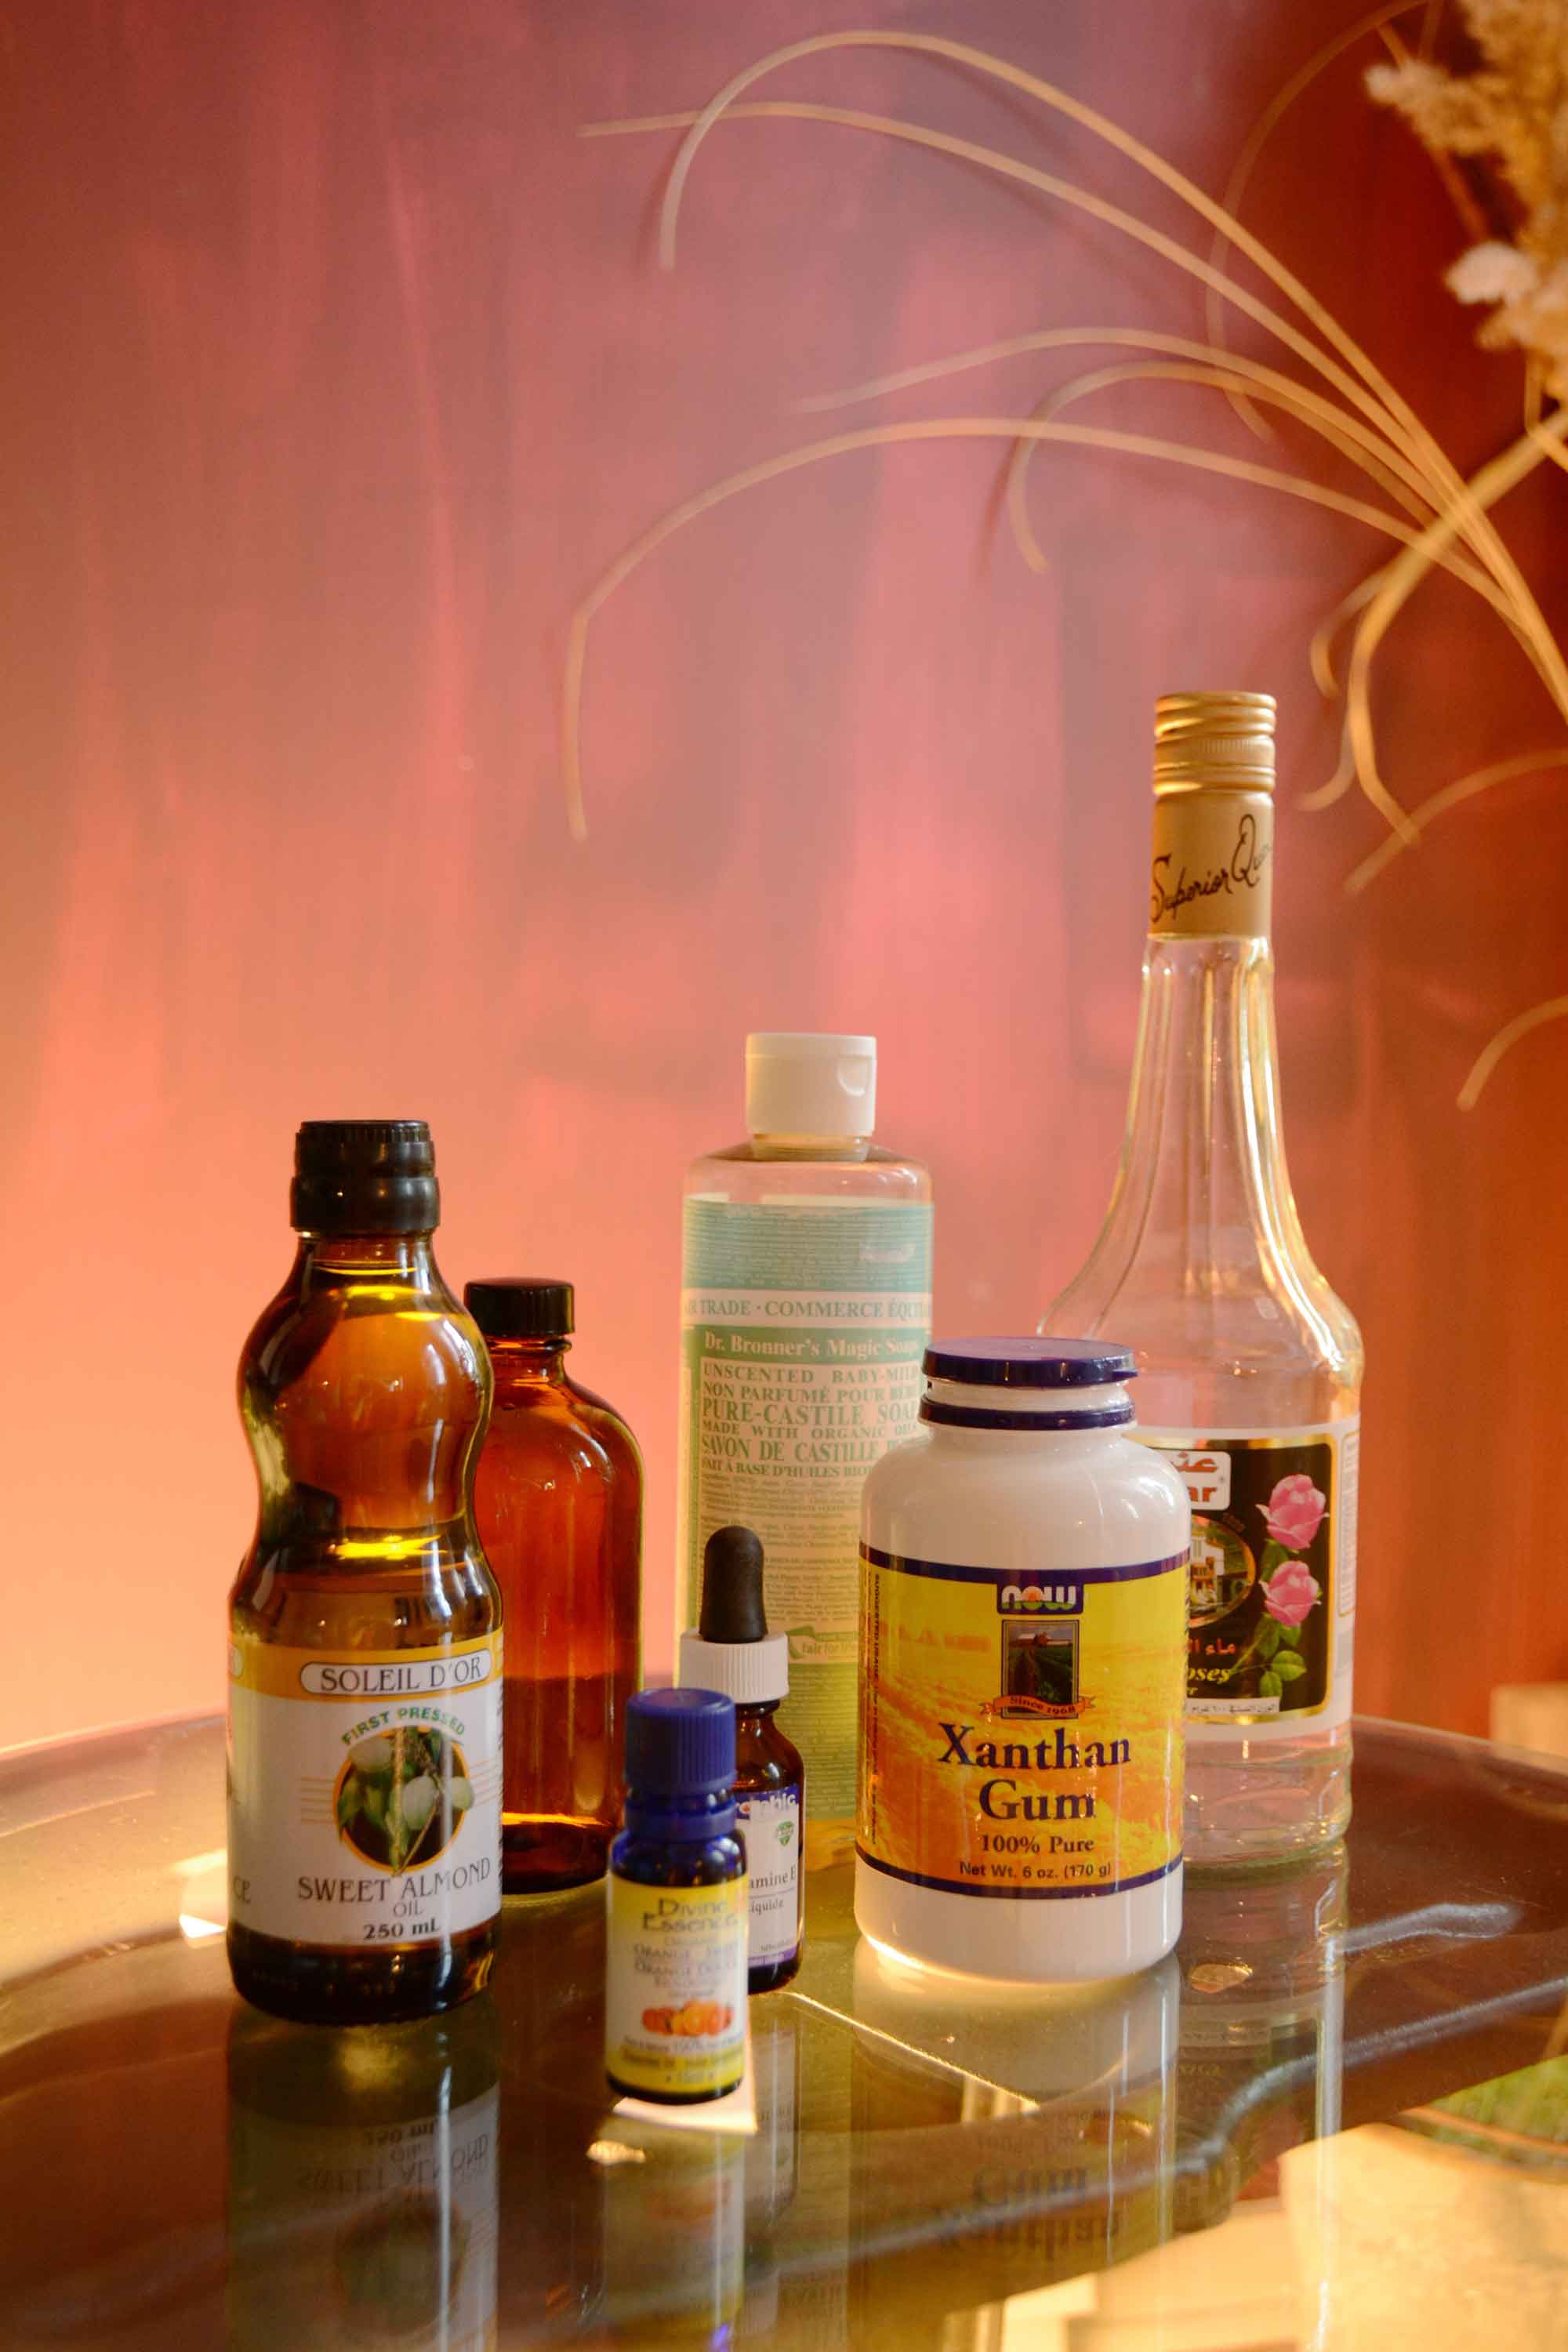
As always when making your own cosmetics, think about ingredients. As mentioned above, petroleum-based products dry your lips even more if they are already dry to begin with. What you want to be looking for instead are natural moisturizers such as Cacao Butter, Shea Butter or even olive oil. Vitamin E is also a good additive, it heals and regenerates your skin and also acts as an anti-oxidant. To make your oils and butters solid, you will have to add a solid fat or wax. Again, petroleum based ingredients such as Vaseline should be avoided. Instead use beeswax. It is non-toxic and indigestible, if you happen to lick it off your lips. Finally choose a scent. Essential oils are ideal for that. Peppermint or sweet orange are classic ones, but cinnamon is also quite nice during the winter.

Source Your Ingredients

As important it is to decide on what you put into your body wash, it is equally important to know where your ingredients come from. Many of the ingredients such as essential oils, maybe even Shea butter and beeswax, are commonly found in your local organic shop. If you don’t life near any such shop try the internet. As mentioned in my previous post on shower gel, a good resource is Mountain Rose Herbs. This company sells herbs, teas, spices, natural health products as well as ingredients for homemade body care in bulk.

Get Your Equipment Together

As I mentioned before, making your own cosmetics doesn’t require a sterile environment. To mix your ingredients, use clean stain-less steel mixing bowls, measuring spoons and a whisk. To heat them, just use an old stain-less steel pot. It’s as simple as that. Before you get started though, make sure you have the final container ready. Herbal stores are hidden treasure troves when it comes to finding containers for homemade cosmetics and that’s where I came across my lip balm containers. Again, if you don’t have one close by, Lipbalmtubes.com is a great resource for anything related to making your own lip balm. Also have a set of small stain-less steel funnels handy to transfer your mixture or get a lip balm tube filling tray. Finally, get creative! Make your own label. The website also sells printable sheets with stickers sized to fit your tubes. It makes a nice Christmas gift!

Get Cooking

Now the quick and easy part, actually making your lip balm. Chop your butters and beeswax in small chunks so they melt quickly over a low heat water bath. This is nothing but a metal mixing bowl placed on top of a pan filled with water. Then add your Vitamin E, Essential oils and mix well. Fill into the lip balm tubes using a small funnel, let cool, cap and stick your label on. Hmmm. Creamy – and even if you get some into your mouth – it tastes and smells of cacao butter and is completely harmless! Enjoy!

On a final note – as for Blistex? They have finally removed phenol from some of their products and replaced phenol with oxybenzone. Is that better? No, not really. Oxybenzone is a photo-sensitizer that may actually cause more sunburns and ultimately skin cancer, despite it being found in many sunscreens.

Creamy Cacao Butter Lip Balm

1 ½ tbsp (15ml) Cacao Butter

1 ½ tbsp (15ml) Shea Butter

1 tbsp (15ml) Beeswax, chopped

1 drop Vitamin E

Optional:

4 drops Essential Sweet Orange Oil OR Peppermint Oil

Fill a small stainless pot half way with water and place a metal bowl on top. Put the cacao butter, Shea butter and beeswax into the bowl and heat the water below to a low boil. Keep checking until all the beeswax is dissolved (it will take the longest). Take from the heat and whisk in the Vitamin E and Essential oils. Use a small metal funnel to fill into lip balm tubes or use a multi-tube filler if you are making a large batch. Let cool and cap. Keeps ~12 months.

Advertisement

A Guide To …

… Making Your Own Body Wash

Ingredients

In my last post I described how I started making my own personal care products and experimented with different ingredients to tailor then to  my tastes and needs. And although that is certainly not everyone’s cup of tea to make their own, here’s a little guide on how to go about making your own body wash.

Think About Ingredients

What you choose to put in your body wash is important. Not just from an organic vs non-organic ingredient point-of-view, but also depending on your skin type, your preferences for smell and so on, similarly to when you select one in a store. Start off with something moisturizing for your skin type: sweet almond oil or apricot kernel oil are good choices for dry skin, grape seed oil for normal skin and coconut oil is good for all skin types as well as a cooling agent during the summer. The choice of soap is also important, and the easiest I have found to use is unscented castile soap that is made from olive oil (for example Dr. Bronner’s). Another good ingredient are floral waters such as rose or orange blossom, or herbal infusions such as Calendula or Chamomile. They have astringent and purifying properties and smell nice. Finally choose a scent. Essential oils are ideal for that. Lavender or Geranium for calm, Grapefruit to invigorate, or Sandalwood for something more earthy. If you struggle with blemishes, tea tree oil is also a good addition.

Source Your Ingredients

As important it is to decide on what you put into your body wash, it is equally important to know where your ingredients come from. Many of the ingredients such as Dr. Bronner’s Castile Soap and essential oils are commonly found in your local organic shop. If you don’t life near any such shop try the internet. A good resource is Mountain Rose Herbs. This company sells herbs, teas, spices, natural health products as well as ingredients for homemade body care in bulk. You can order as little as 4oz and as much as 1lb of your favourite herb. They also sell floral waters and essential oils and ship world-wide. The company has also a strong commitment to organic and sustainable agriculture, which is invaluable if you want your body wash pesticide-free.

Get Your Equipment Together

I found a lot of people are put off  from making their own personal care products by thinking they have to work in a sterile environment. No, you don’t. To mix your ingredients, use clean stain-less steel mixing bowls, measuring spoons and a whisk. To heat them, just use an old stain-less steel pot. It’s as simple as that. Before you get started though, make sure you have the final container ready. You can choose a plastic squeeze bottle (make sure it’s ‘good’ grade plastic!) or an amber-colored glass bottle. What ever tickles your fancy. Herbal stores are hidden treasure troves when it comes to finding containers for homemade cosmetics. I have found many a thing there, from squeeze bottles, to lip balm containers and roll-on bottles. Again, if you don’t have one close by, Mountain Rose Herb is a great resource as well as many other places on the web. One final piece that has come in quite handy over the years is a set of small stain-less steel funnels to transfer your mixture to the bottle. These are available from any kitchen shop.

Get Cooking

This is the fun part! Always start off with your infusion or your floral water and heat it gently. Then add your oils and mix well. Take from the heat source and follow by adding the soap. Liquid is best here but if you’re using flakes, let them dissolve slowly. At this point your body wash will look nothing like the gel-like substances we are all used to. You can either keep it that way, or you can add a thickener. The most common and harmless one to use is Xanthan Gum, a polysaccharide secreted by the bacterium Xanthomonas campestris. It’s often available in powder form. Add it by sprinkling it onto your mixture and whisk it in until there are no clumps left. The mixture will thicken very quickly so be careful how much you add. Finally, add your essential oils for fragrance. If you are worried about the shelf-life of your body wash, you could also add a few drops Vitamin E T50 oil as an antioxidant, and a  few drops tea tree oil as antibacterial agent. One important thing to remember is that you don’t have to be accurate with amounts. Just be approximate, and after a few tries you will adjust your ingredients the way you like them best.

Use!

Now get showering! Believe me, the first time you will use your homemade body wash is actually quite a proud moment. To think that you just made something with a few yet good quality ingredients that for years you had to buy in a shop? It’s a great feeling! You will quickly decide what to change in your mix – more or less thickener, different essential oil, or you may even want to play around with adding colour. When it comes to homemade cosmetics, the world is your oyster, as long as you do your research on ingredients. And the best of it all? In the end you control what goes in it.

My Favorite Body Wash

Below is the recipe for my favorite body wash. It’s simple to make and the amounts are approximate. I personally tend towards dry skin but, as I said, you can change-up the ingredients any way you like. Enjoy!

1 cup (250ml) organic Floral Rose Water

1tbsp (15ml) Sweet Almond Oil

1tbsp (15ml) Shea Butter

1 cup (250ml) Dr. Bronner’s Unscented Castile Soap

1tsp (5ml) Xanthan Gum

2 drops Vitamin E

10 drops Essential Grapefruit Oil

10 drops Essential Sandalwood Oil

In a small stain-less pot heat the Rose Water gently. Add the Shea Butter to melt and the Sweet Almond Oil. Mix in with a whisk. Take from the heat and mix in your Castile Soap. Sprinkle some Xanthan Gum powder on top of the mixture and whisk in quickly. Add more depending on desired consistency. Add the Vitamin E and Essential oils and mix. Transfer into an opaque plastic squeeze bottle and keep in your shower. Keeps ~6 months.